Creating a Windows Server Template in VMware Workstation Pro

What We're Doing
When you consider the installation, initial setup, updates, and configurations, setting up new virtual machines can take a while to deploy. Thankfully, this can be fixed by using templates! Simply create a new virtual machine, set it up the way you want it, then save it as a template so you can clone it later.
I'll go through how I would configure a brand-new Windows Server 2022 virtual machine, walk through the entire creation process, and then turn it into a template so it can be quickly deployed at a later time.
Use the table of contents on the left to navigate between the different sections of the write-up as necessary. I go through every step of the process - so you can easily skip any that you don't need to read.
Getting the ISO Images
Download the bootable ISO image before you begin. The evaluation versions of Windows 10 and Windows Server 2022 are linked below. Download the corresponding ISO, though, if you're using a different version.
Windows 10 Enterprise Evaluation
Windows Server 2022 Evaluation
Initial Installation
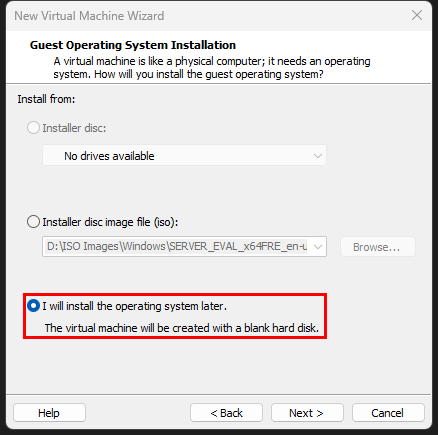
In the New Virtual Machine Wizard dialog box, I tend to choose to install the operating system later. This is to bypass easy install which is known to cause errors during the installation.
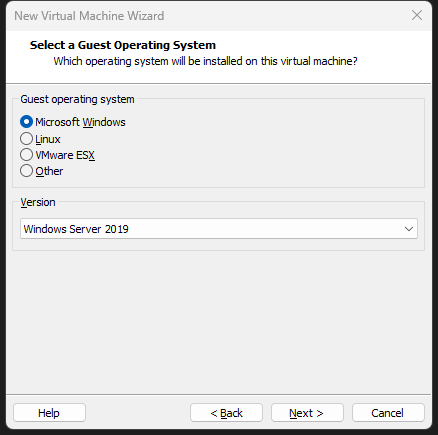
Choose Microsoft Windows and the version - in my case, Windows Server 2019 (that's the latest option)
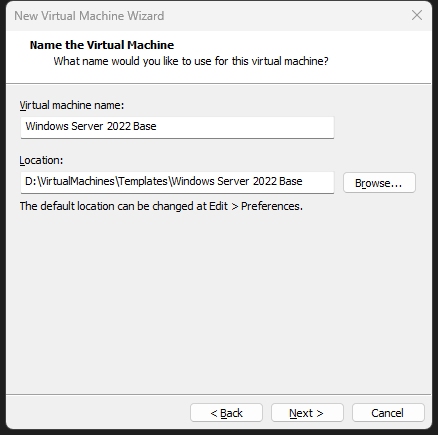
Choose a suitable name for the virtual machine and a location to save it.
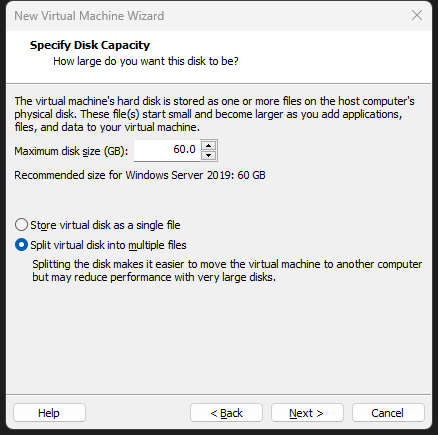
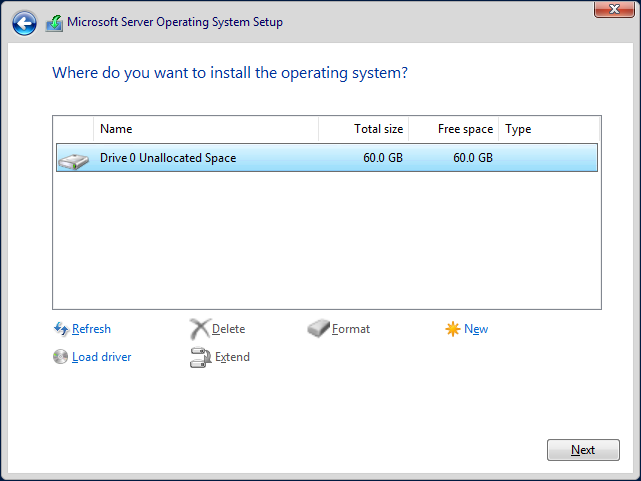
Choose a drive capacity for the virtual machine - I am using 60GB for mine.
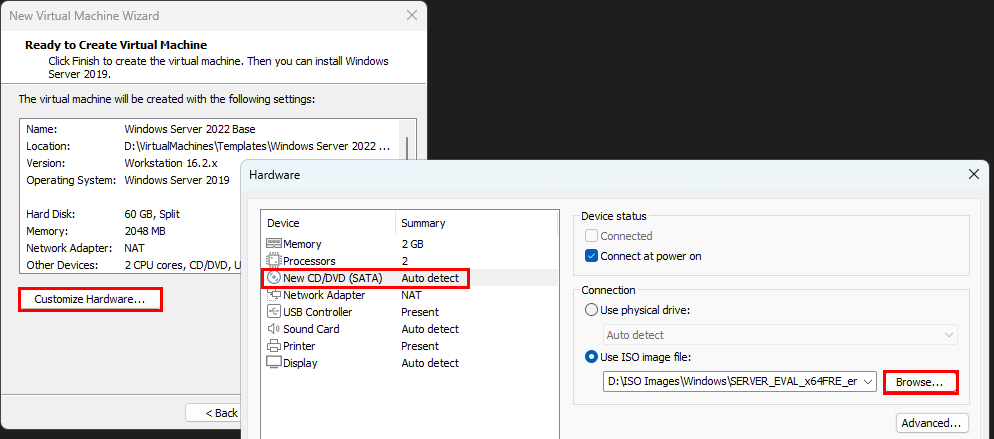
We need to mount the ISO before the wizard is finished. Click Customize Hardware... and navigate to the ISO you downloaded. After saving, review the rest of the settings and finish the wizard.
Windows Server Setup Process
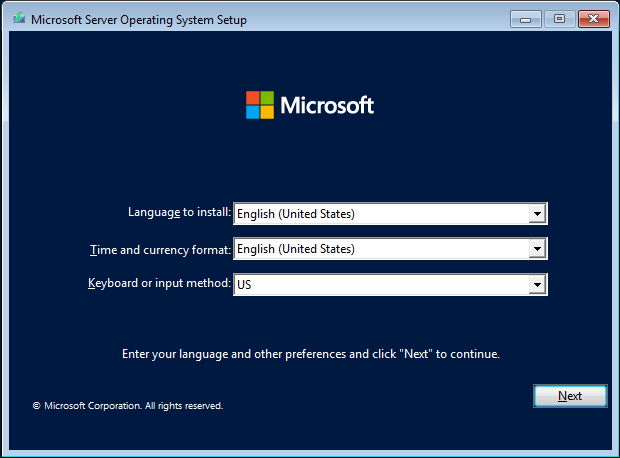
After powering on the virtual machine and entering the installation process, select your language and regional settings.
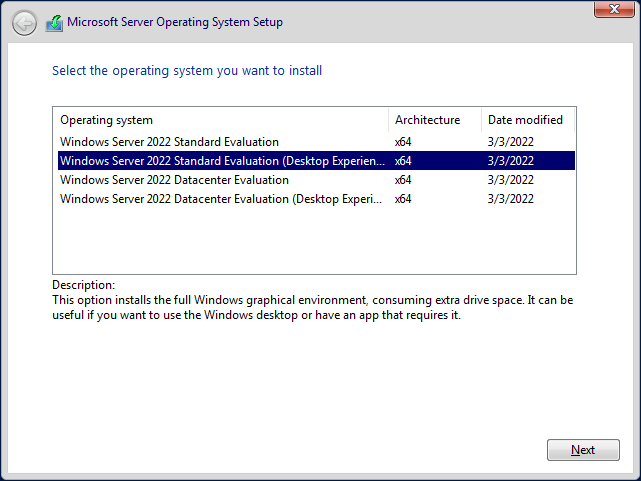
The standard evaluation with the desktop experience should work for most everybody and that's what I am going with as well.
Select Custom for the type of installation
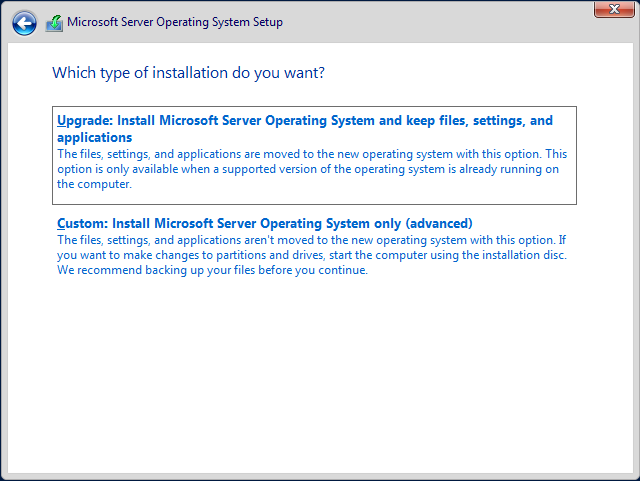
Select the drive you configured earlier (should be the only drive)
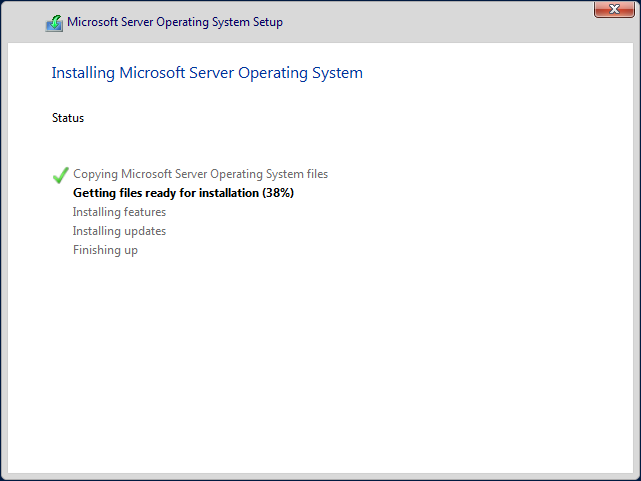
After that, Windows Server should start installing. Go get some coffee; it might take a while.
Leveraging Audit Mode
What is audit mode?
With Audit mode, you can boot directly to the desktop environment and customize it according to your preferences. This includes installing drivers, checking for Windows updates, installing or uninstalling applications, creating new user accounts, and making other changes. Anything you do in Audit mode will be included in any virtual machines you create from this template, right from the start!
Please note that the installation will remain in audit mode until Sysprep is used to set the system to boot into OOBE (which we will cover shortly). This feature is beneficial because even if an update requires a restart, the system will boot back into audit mode until you are ready to proceed.
More information about audit mode (and the differences between the two boot modes) can be found here.
Booting into Audit Mode
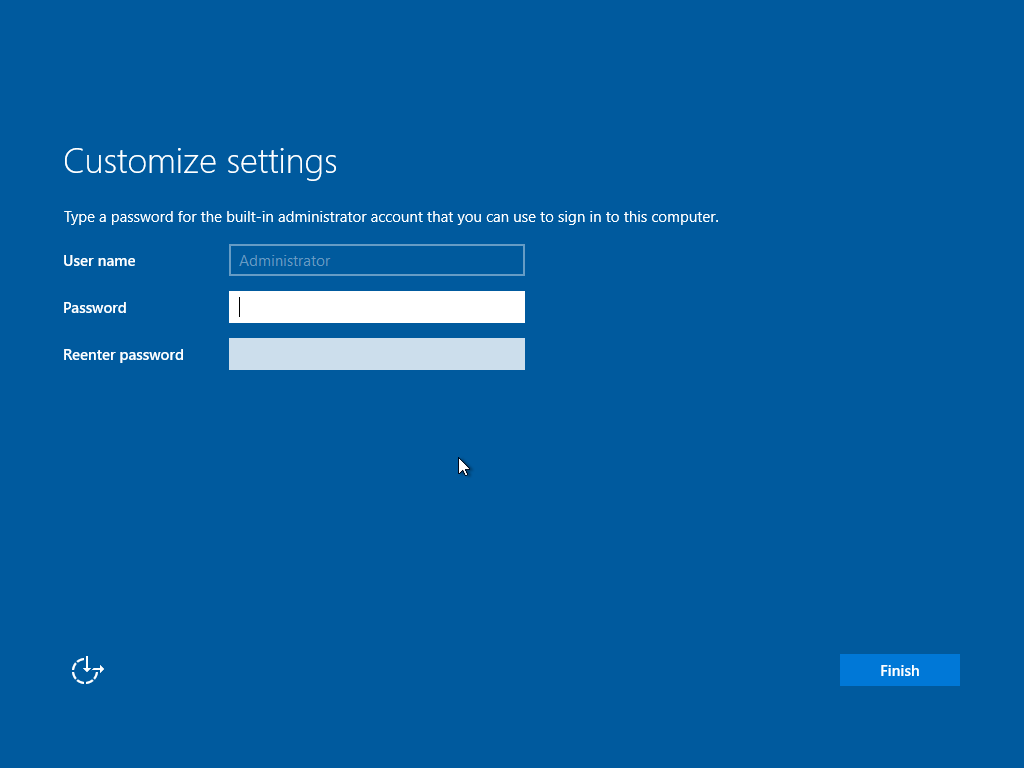
When the installation is finished, you will be taken to the initial out-of-the-box experience screen (below). To bypass the OOBE setup and boot into the built-in administrator account, press CTRL+SHIFT+F3 on this screen.
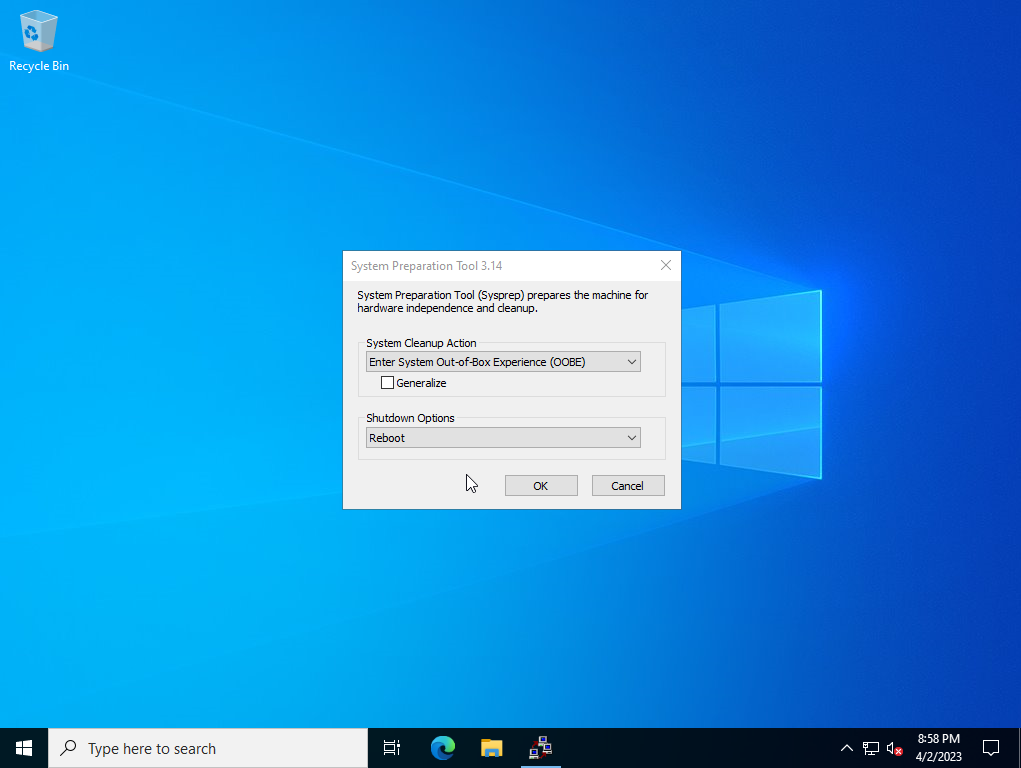
Once you do this, the virtual machine will reboot and log in as the built-in administrator, with the system preparation tool ready to use. You may close this for the time being, as we can always reload it if necessary (which we will).
Customizing the Image
Now comes the fun part: personalizing the image! In my case, I'll run Windows updates, install VMware tools, and configure BgInfo to display helpful host information right on the desktop.
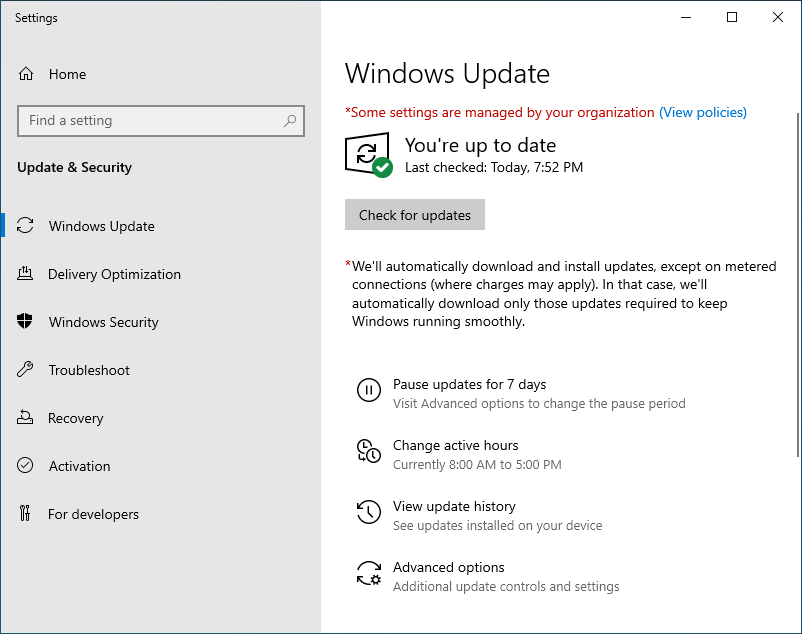
Windows Updates
There isn't much to do other than check for updates and let them install. When I create base images, I always try to keep them as up-to-date as possible.
VMware Tools
Installing VMware tools improves virtual machine performance while enabling additional features such as copy/paste between the host and guest, higher display resolutions, and more.
Navigate to VM > Install VMware Tools... to mount the installer in the guest.
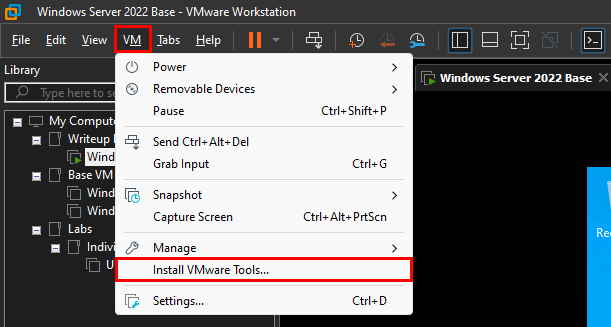
Once mounted, Windows will ask you what you want to do with the disk. Follow the standard installation procedure; after a few moments, the installation will be complete and ready to go.
I tend to wait to restart until Windows updates wants to reboot - because it most likely will.

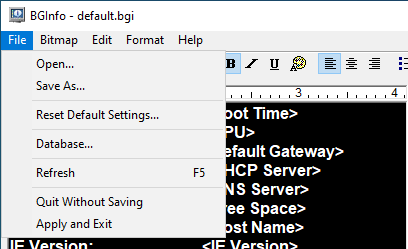
Setting up BgInfo
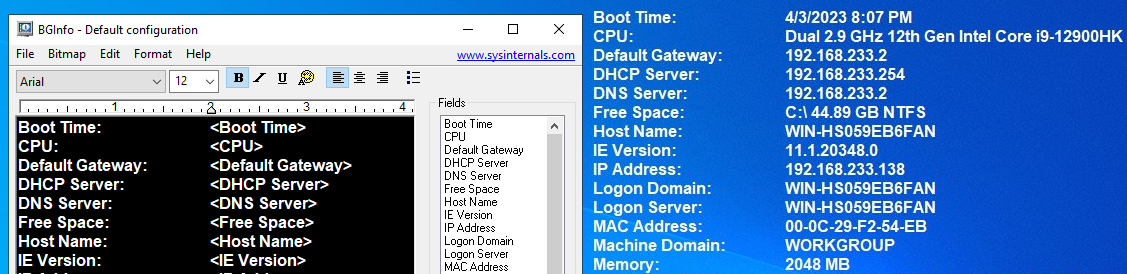
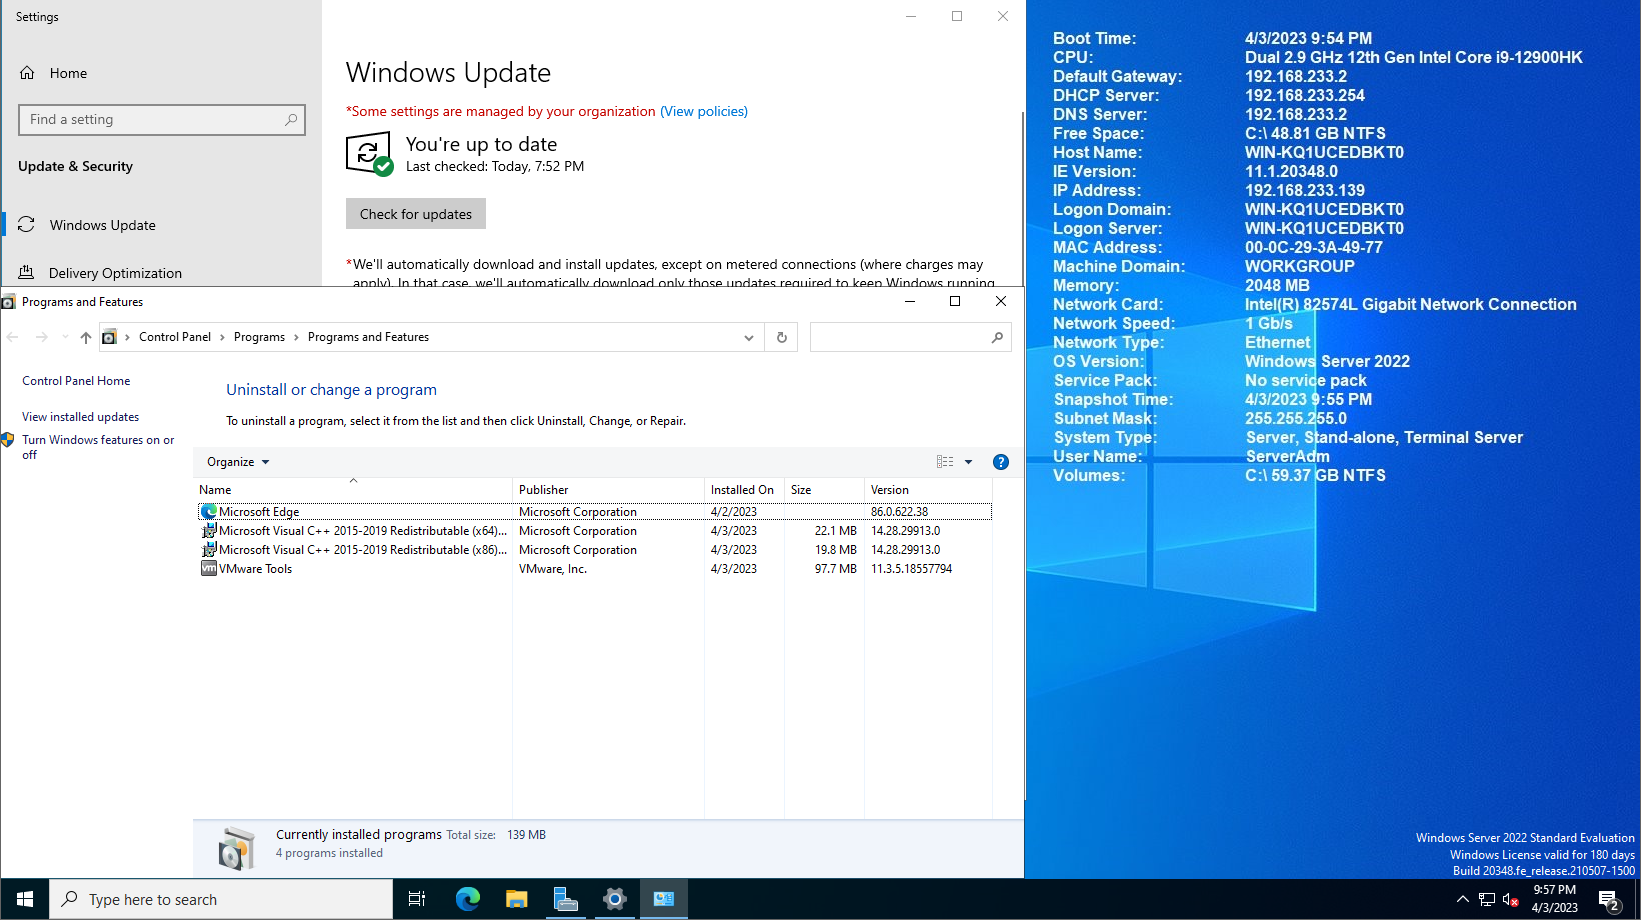
BgInfo is a useful tool that displays information such as the hostname, IP address, and current user on the desktop. You can customize what is displayed, where it is displayed, and other properties from within the tool.
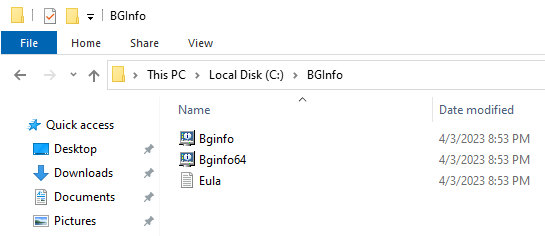
First, download BgInfo, unzip the archive, and put it where you want on the virtual machine - I put mine in C:\BGInfo.
Open Bginfo.exe and change which configuration items appear on the desktop. Once you've dialed in how you want it to look, apply the changes, and the desktop should now reflect the configuration items you selected.
To save the layout, go to File > Save As... and save it to the BgInfo folder extracted earlier (C:\BGInfo for me).
To make BgInfo run at startup for all users, create a new shortcut at C:\ProgramData\Microsoft\Windows\Start Menu\Programs\Startup with the following location - C:\<bginfo_path>\Bginfo.exe C:\<bginfo_path>\<saved_template>.bgi /timer:0 /nolicprompt /silent
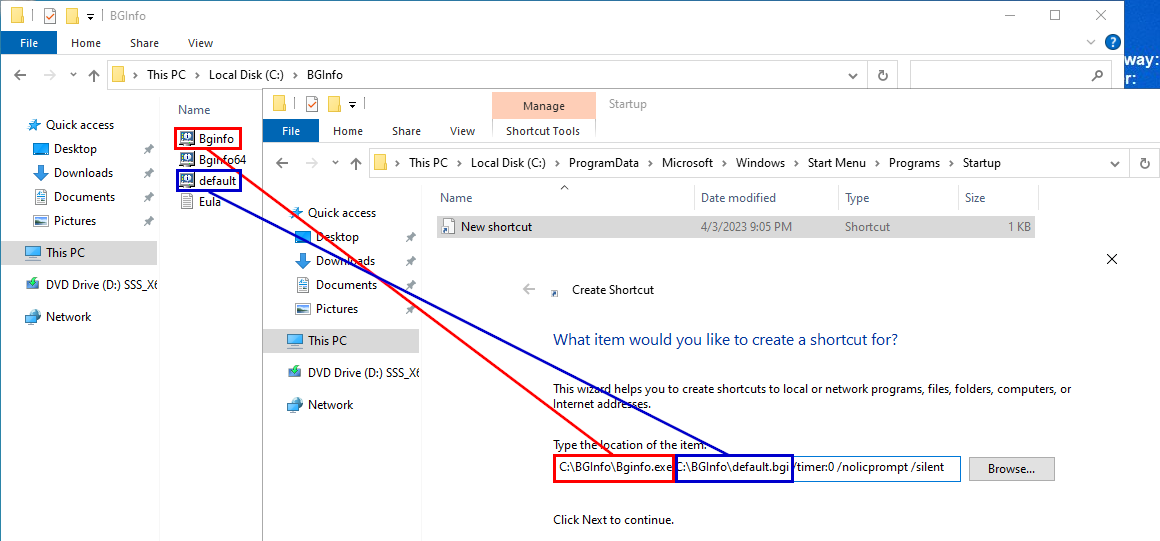
At this point, BgInfo will load the above-created template for every user who logs into the machine.
Finalizing the Template
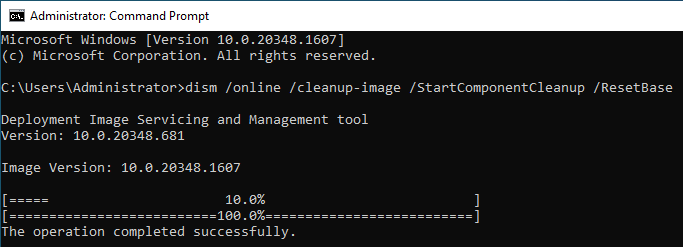
Before we finish, some housekeeping is in order. After adding your final touches to the image, you should clean the component store to reduce the overall size of the final image. To do this, simply run the following command in an elevated command prompt:
dism /online /cleanup-image /StartComponentCleanup /ResetBase
To finish the setup and prepare the virtual machine to be used as a template, run Sysprep. Running Sysprep will cause the guest to boot into out-of-the-box experience mode, rather than audit mode as it usually would.
In a command prompt, load Sysprep by executing C:\Windows\System32\Sysprep\sysprep.exe, tick Generalize and choose Shutdown in the shutdown options dropdown.
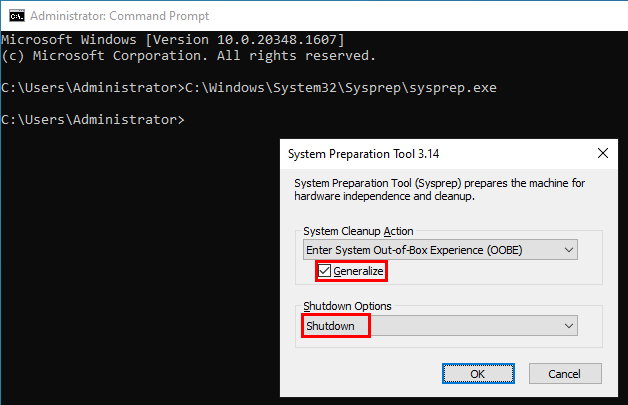
Sysprep will run for a few minutes, then the virtual machine will shut down, and we'll be ready for the next step.

Converting VM to a Template
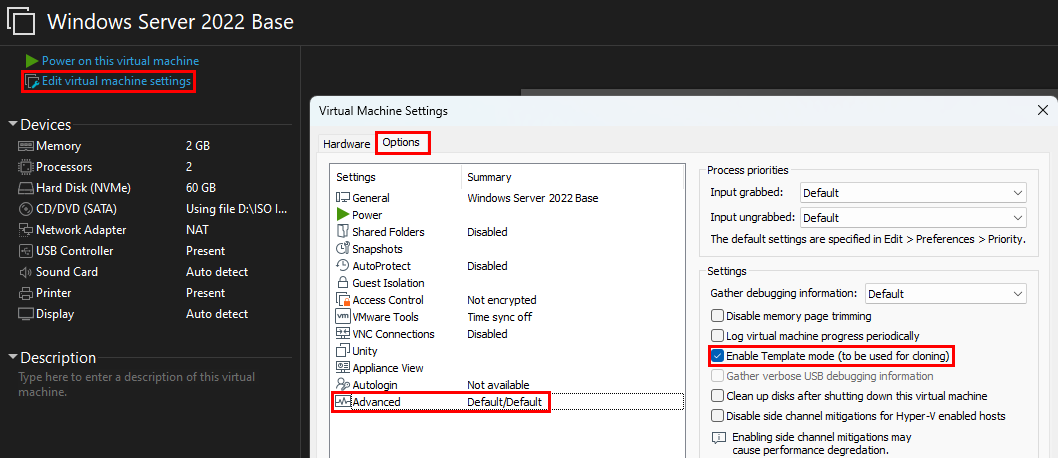
Finally, we have reached the last step before deploying this template. To complete the process, navigate to the virtual machine settings > Options > Advanced and tick the "Enable Template mode" option.
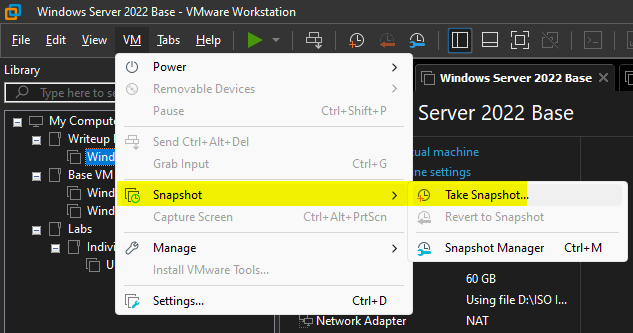
Now that we have our template, we need to take a snapshot because this is what future clones will be based on. Navigate to VM > Snapshot > Take Snapshot...
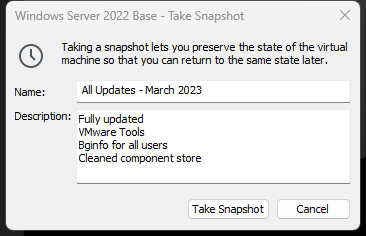
Give it a name and a description, and then take the snapshot.
Using the Template
Now that we've converted this image to a template, we can simply clone it whenever we need to stand up a new virtual machine.
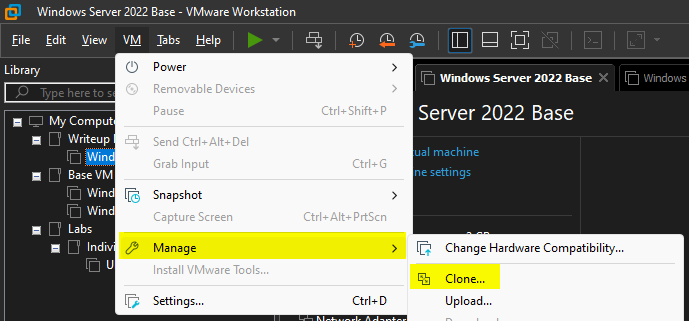
Go to Go to VM > Manage > Clone... to start the cloning process
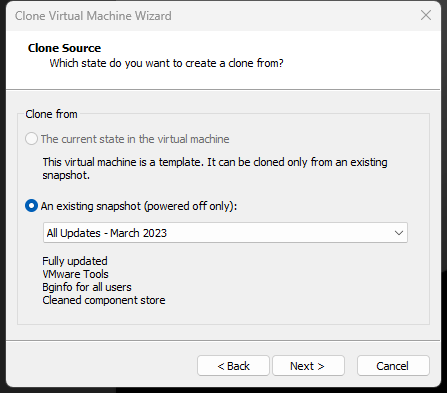
Select an existing snapshot to clone from
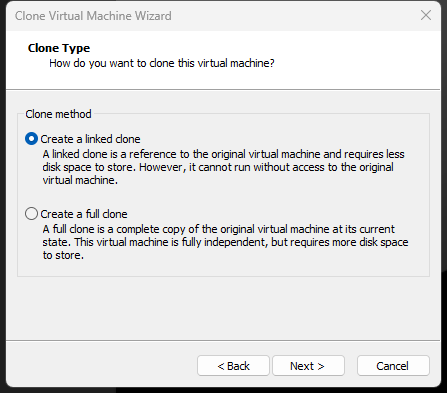
Select between a linked clone or a full clone. I prefer full clones, but they consume a lot more resources, so selecting a linked clone can help with that.
Give your clone a name and a save location

All that remains is to boot up the new clone and go through the initial setup process as you would with any other install. This is possible because Sysprep performed the necessary work for the image to boot into OOBE rather than audit mode.
When you finish the setup, your new virtual machine will be ready to use with all of the modifications you made right out of the box!
From here on out, I have a fully functional Windows Server 2022 virtual machine ready to go in about 30 seconds.
That's all I have for now! Thank you for sticking with me through this long post.